Showing posts with label Christmas. Show all posts

Monday, December 24, 2012

Orange Glazed Ham

Just in time for all you last-minute people out there...the perfect ham for your Christmas dinner!  We always have our Christmas dinner on the Sunday before Christmas because frankly I think I deserve a day off too.   So we always do easy fix-it-yourself type of stuff on Christmas day.  We usually have leftover ham or turkey from our Sunday Christmas dinner so we do ham or turkey sandwiches, and I always love to have my Deviled Ham Cheese Ball and crackers lying around for the snacking too.

But for you out there who like to have a nice fancy dinner this ham's for you.  It is super easy to do & tastes a-maz-ing!!  And I like that I can just buy a cheaper ham instead of the spiral cut ham and it is just as good if not better.  Always nice to save a little dough, especially at Christmas time!

We hope everyone has a wonderful Christmas spent with family and friends!

Orange Glazed Ham


1 ham, fully cooked (5-8 pounds)
1 cup packed brown sugar
4 Tablespoons freshly squeezed orange juice
1 teaspoon ground mustard

Place ham in a roasting pot and cover with a lid.  Bake ham at 350 degrees for 8-10 minutes per pound or until a meat thermometer inserted into the middle reaches 140 degrees.

Mix brown sugar, orange juice and mustard and pour over the ham when you have 20 minutes cooking time left.  Cover ham again and continue cooking for the last 20 minutes.


Delicious!  The orange in the glaze is perfect with the ham.  I just love it!  You can also substitute pineapple juice for the orange juice if desired.

Enjoy & Merry Christmas!

Monday, December 10, 2012

Cranberry Eggnog Braid

Who loves eggnog?  I do!!  But I can only drink it during Thanksgiving/Christmas time (good thing that's the only time they sell it!:)) & I can only have 1 glass.  Too much of it makes me dizzy!:)  Sugar rush or something.  Although I can't drink it straight.  I dilute it about 50/50 with skim milk.  It's just too thick otherwise & kind of activates my gag reflex.  My husband likes to add Sprite to his eggnog.  I don't personally like it, but to each their own!  

What's your method of drinking eggnog?  Love it?  Hate it?  What do you like to add to yours, if anything?  I'm really curious about everyone elses eggnog drinking habits.:)

If you love (or even just like) eggnog, I think you'll really enjoy this treat!  I love doing fun things with my bread...like braiding it!  Looks so pretty & yummy!  

Make this sweet treat for your eggnog lovin' friends!

Cranberry Eggnog Briad

1 tablespoon yeast
1/4 cup warm water
1/4 cup sugar
1/2 teaspoon salt
1/2 teaspoon nutmeg
1 1/4 cups eggnog, scalded
1/4 cup oil
3 - 3 1/2 cups flour
1/2 cup craisins
Glaze:
3/4 cup powdered sugar
2 tablespoons eggnog
1/2 teaspoon vanilla
dash of nutmeg

Dissolve the yeast in the warm water in your mixer.  Let sit for about 10 minutes.  While the yeast is sitting, place eggnog in microwave for about 2-3 minutes.  You just want to scald it...heat it to just before boiling point.  Let eggnog cool until 10 minutes is up.  Add the sugar, salt, nutmeg, eggnog, oil and 1 1/2 cups of the flour to your yeast mixture.  Beat together until smooth.  Add craisins and enough flour to make a soft dough.  Let knead in your mixer for about 5-8 minutes.

Spray a large bowl with cooking spray and place dough in bowl.  Cover and let sit in a warm place for 20-30 minutes.


Divide dough into 2 equal parts.  Place one half on surface that has been sprayed with cooking spray (lot less messy than a floured surface & works great!)  Divide that half into 3 equal parts.  It doesn't have to be exact, just eyeball it.


Using your hand, roll each ball into a 16" or so long "rope".


Press the top of the tree "ropes" together to start.


Then just start braiding your 3 ropes together.


When you get to the end of your ropes (funny!:)), just tuck the bottom ends underneath a little and pinch dough together.  Place on a greased cookie sheet.  Cover and let raise for about 45 minutes to 1 hour or until doubled in size.


Bake at 350 degrees for 20-25 minutes or until they are lightly browned.  Let cool.

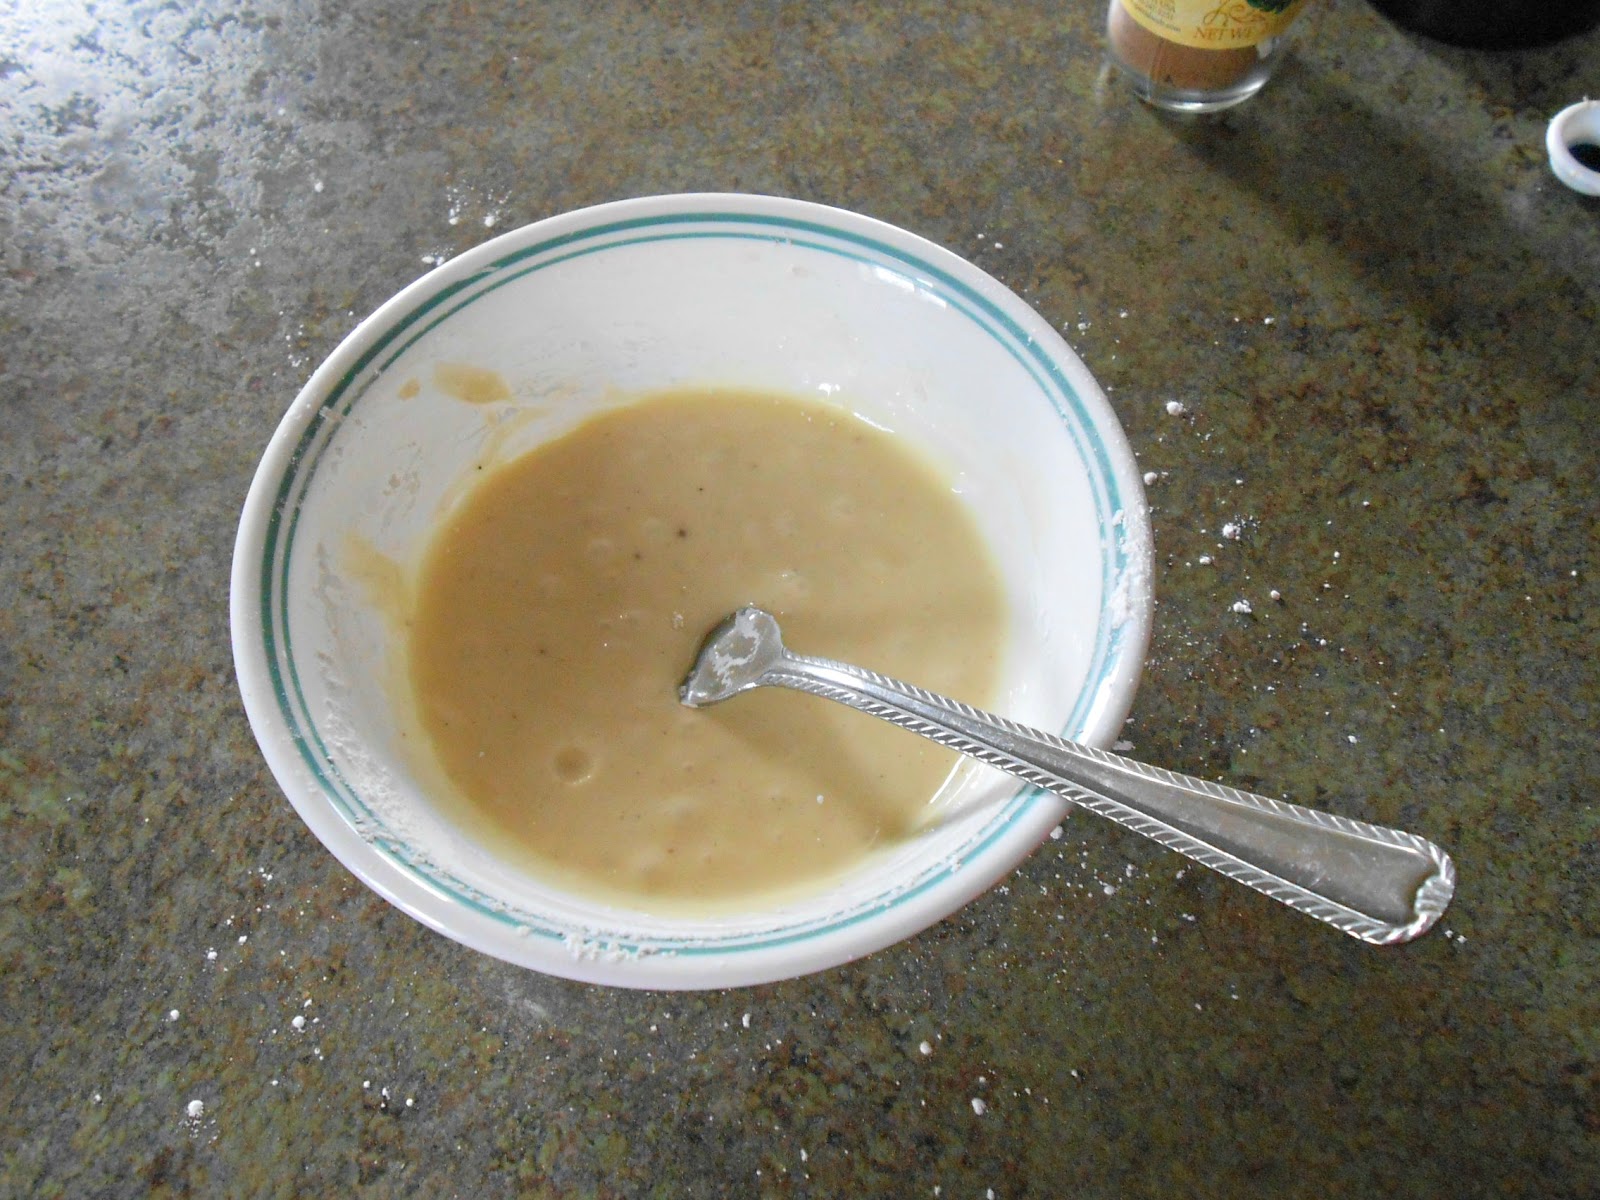
For the glaze, combine all ingredients in a small bowl and whisk with a fork until smooth.


Place cooled braids on wax paper.  Using your fork, drizzle glaze over braids.


Wah-lah!!  Isn't it beautiful?  

You could wrap them up nice and give them as Christmas treats to neighbors & friends!  They will love you!


Wednesday, December 5, 2012

Christmas Goodies! (and my favorite Christmas show)

I love Christmas time & if you follow us on facebook or twitter you know that we "decked our halls" this last weekend!  The hubby thinks I over do it...but I really enjoy it! 

There's just something so wonderful about sitting in front of the Christmas tree at night snuggled in a warm, soft blanket with a cup of hot chocolate and Christmas music playing in the background.  It's my favorite thing to do...even if there's a million things that I should be doing instead...the tree just beckons to me!

Last night we watched one of my favorite Christmas movies (actually just a short film I guess) with the kids.  It brings tears to my eyes every time I watch it.  Reminds me  what Christmas is all about, and was a great way to start the Christmas season!  Mr. Kreuger's Christmas.
(The link will take you to watch it on youtube...it's 25 minutes long and so worth the time!  I'm also including the video at the end of this post.)

So with all this wonderful Holiday spirit in the air I decided I needed to create a Christmas category here with all my favorite foods that remind me of Christmas!  So that's what I've spent the last hour doing.


(and no they're not all desserts...just the majority!:))

And here are a few of my favorites:

(anything minty makes my Christmas goodies list!)


Orange Zest Cupcakes
(and anything orange!)


Cinnamon Bun Popcorn
(as well as any kind of caramel corn...this is my favorite though)


Mom's Potato Rolls
(homemade rolls are a must have at Christmas time!)


(and these are a must have for the love of my life!)


And last but not least...

(my #1 favorite Christmas food that we had every Christmas growing up.  It just wouldn't be Christmas without it!)


And here's Mr. Kreuger's Christmas:
(not the best quality, but it's the only one I could find of the show in it's entirety.)


What's your favorite Christmas show that you have to watch year after year after year?

Monday, September 24, 2012

Biscoff Muddy Buddies

I fell in love with Biscoff a few months ago when I was introduced to this new Biscoff spread.

It will change your world!

It tastes just like the cookie (you know, the ones you get on the airplane?) but in spreadable form.  Which made it perfect to try in place of peanut butter in these muddy buddies.  The kids chowed these so fast I had to hurry and grab some just so I could get a picture to blog!

I found my spread by the peanut butter at my local Walmart.  It also had a $1 off coupon on it...SCORE!  I think this is a product I'm going to have to stock up on, just like I do with peanut butter! 

Biscoff Muddy Buddies
9 cups rice Chex
1 cup semi-sweet chocolate chips
1/2 cup Biscoff Spread
1/2 cup (1 stick) butter
1 teaspoon vanilla
2 cups powdered sugar

Measure cereal and pour into a large bowl and set aside.

In a microwavable bowl, microwave chocolate chips, Biscoff, and butter uncovered for 1 minute.  Stir. Microwave about 30 seconds longer or until mixture can be stirred smooth. Stir in vanilla. Pour mixture over cereal and stir until all the cereal is coated. Pour into 2-gallon storage plastic bag. Add powdered sugar, seal bag and shake well until coated. Spread on a cookies sheet or on waxed paper to cool. Store in airtight container in refrigerator....if you have any that doesn't get eaten right away!

Thursday, September 20, 2012

Andes Creme de Menthe Cookies

Anyone else have some major Pinterest fails?  

I'm talking about seeing a recipe that looks out of this world delicious on Pinterest that you know you just have to make ASAP.  So you get all the ingredients, prepare and present only to have the dish fall WAY short of your expectations?

I had one of those experiences this week.  I found some Enchilada peppers stuffed with black beans and quinoa that looked so good, I thought I'd try them.  They were okay, but not something I'll ever make again.  

UBER disappointing!!
(I had to look up that word just to make sure I was using it in the right context...did you know it's a German word for above or over?  Learn something new every day!:))

I took pictures throughout the process and they looked fabulous & I even thought about still sharing the recipe here, because I thought maybe someone out there would think it was heavenly.  But then I decided if it's not something I LOVE, I don't want to be responsible for other people's (possible) failed dinners!

Everything here is something I without hesitation would make again.  So, as long as you have taste buds like mine, you're going to love the recipes here!:)

Especially these cookies!!  They are perfect...and I'm not the best cookie maker in the world.  I have problems getting them just right.  Sometimes they go pancake flat & other times they don't flatten at all and are crumbly & dry.  So when I find a cookie recipe that turns out as perfectly as these cookies, I SHARE!!  

You're welcome!

Andes Creme de Menthe Chunk Cookies

1/2 cup butter, softened
3/4 cup brown sugar
1/2 cup white sugar
1 teaspoon baking soda
1 teaspoon baking powder
2 teaspoons vanilla
2 eggs
1 package (10 oz.) Andes Creme de Menthe Baking Chips
2 2/3 cup flour

Add butter, sugars, baking soda & powder, vanilla and eggs to your mixer.
(LOVE my Bosch!)


Beat until combined.  Don't worry if the butter is still a little clumpy.


Add the baking chips (YES, the whole bag!!) and the flour.


Mix until all ingredients are combined.  The mint smells so good!


Put dough in a bowl and refrigerate for 1 hour. This is the hardest part...waiting.  I've never skipped this part so don't know if they will work if you just cook them right away.  Like I said, if I find a cookie recipe that works I stick with it!:)


Remove dough from fridge and scoop dough onto a cookie sheet.


Bake at 350 degrees for 8-10 minutes.  Cool on pans for 2 minutes before removing to wire rack.


Try just eating one...and good luck with that!:)

Saturday, May 26, 2012

Red Velvet Cupcakes with Cream Cheese Frosting

I've never been the biggest fan of red velvet. 

Tony (the hubby) LOVES red velvet!

Needless to say, he doesn't get it very often.  But, that may change after making this recipe.  I saved two, one for Tony and one for me so I could have a taste (since they were going to someone else).  And it's a good thing they weren't left sitting around in my home!  Dangerous I tell you!!  And DELICIOUS!

Red Velvet Cupcakes
(with cream cheese frosting)

For the cupcakes:
1 box red velvet cake mix (I could only find this in Duncan Hines brand)
3 eggs
1/2 cup oil
3/4 cup buttermilk
3/4 cup sour cream
2 teaspoons vanilla
For the Cream Cheese frosting:
2 packages (8 oz. each) Cream Cheese, softened
1/2 cup (1 stick) butter, softened
4 cups powdered sugar
1 teaspoon vanilla
1 tablespoon milk
Preheat oven to 350 degrees.  Line muffin tins with 24-30 cupcake liners.

Mix cake mix, eggs, oil, buttermilk, sour cream, and vanilla together until smooth.  Scoop into cupcake liners about 3/4 the way full.

Bake for 15-18 minutes or until a toothpick inserted comes out clean.

Remove from the oven and let sit for about 5 minutes.  Place them on a wire rack to cool completely.

For the frosting (this is my fabulous cream cheese recipe found here!), beat the cream cheese and butter together until combined well. Add the powdered sugar, vanilla, and milk and beat again.

Pipe on to cooled cupcakes.  Top with red sprinkles or chocolate decorations.

(I just melted down chocolate almond bark & placed it into a sqeeze bottle.  Then I laid out some wax paper on the table and started making designs.  Just let them sit until they are hardened and then peel them off and top your cupcake!  It is so fun & cute!!

Devour & don't feel one bit guilty!!  That's an order!:)

Thursday, May 10, 2012

White Chocolate Raspberry Swirl Cupcakes

Only 11 more days until me & my 2 oldest boys jump on a plane and head to Tennessee!  I'm really looking forward to this trip.  Well, everything except the heat & humidity!  I may just die & there's no telling what my naturally curly hair is going to do while there, but it's all part of the experience right?!

I just want to give a quick thank you before we move on to today's DELICIOUS recipe to everyone who has donated money & helped us fundraise.  We really appreciate it, so a huge THANK YOU to you!!

Alright, on to another cupcake.  Are you surprised?  It seems like all I've been doing for the past few weeks is baking (and mainly cupcakes!).  So, I'm sorry for the lack of healthy, dinner menu recipes...I promise I'll do better in June!:)  But I've got to say, I have loved creating & making all these fun cupcakes, and I've been able to help raise money for my boys by doing it as well!  So I've been killing 2 birds with one stone: #1 Raising money for my boys, #2 Feeding my desire to bake & not making myself gain 300 pounds in the process!:)

Hope you enjoy this one...words cannot express my love!

White Chocolate Rasberry Swirl Cupcakes


For the cake:
1 box white cake mix
3 eggs
1/3 cup oil
3/4 cup buttermilk
2/3 cup sour cream
1 teaspoon clear vanilla
Raspberry pie filling
White Chocolate Ganache:
1/2 cup white chocolate chips
3-4 tablespoons heavy whipping cream
Raspberry Cream Cheese Buttercream:
1 cup butter, softened
8 oz. cream cheese, softened
1/4 cup smashed raspberries
4-5 cups powdered sugar
Raspberries for garnish

Preheat oven to 350 degrees.  Line muffin tins with 24 muffin liners.

Mix cake mix with eggs, oil, buttermilk, sour cream and vanilla until smooth.  Scoop batter into muffin tins about 3/4 full.  Spoon a teaspoon of raspberry pie filling onto the top of each cupcake.  Take a toothpick and swirl the filling into the batter.

Bake for 18-20 minutes or until toothpick inserted comes out clean.

Let sit for about 5 minutes and remove to a wire rack to cool completely.

Place white chocolate chips in a microwave safe bowl.  Heat in the microwave for 30 second intervals, stirring inbetween until melted & smooth.  Add the heavy whipping cream until it's about the consistency of a heavy syrup.

Dip the tops of each cupcake in the ganache.  Lightly scrape off any excess so it doesn't run down the sides of your cupcake.  Place in the fridge for about 30 minutes to help it set up.

For the frosting; cream the butter and cream cheese for about 2-3 minutes, scraping the sides of the bowl as needed.  Add the mashed raspberries & mix to combine.  Add teh powdered sugar a cup at a time until you reach the desired consistency.

Pipe onto cupcakes & top with a fresh raspberry.

Monday, April 16, 2012

Orange Zest Cupcakes

We have been on the biggest cupcake kick here lately!  They are just so fun to make, not to mention delicious!!

I first tried this cupcake at a church event and knew I would have to give them a go.  I tweaked the recipe a little and they turned out delicious!

If you love orange like I do, you'll love this one.

Orange Zest Cupcakes
Recipe adapted from Your Cup of Cake


For the cake:
1 box Vanilla cake mix
2 eggs
 2 egg whites
1/3 cup oil
3/4 cup buttermilk
2/3 cup sour cream
1 teaspoon vanilla
2 tablespoons orange zest
1/2 teaspoon orange extract

White Chocolate Ganache:
1/2 cup white chocolate chips
2-3 tablespoons heavy cream

Orange Buttercream:
8 oz. cream cheese, softened
1/2 cup butter, softened
4 cups powdered sugar
2 tablespoons orange zest
1/2 teaspoon orange extract
1 tablespoon orange juice
oranges for decoration (optional)

Preheat oven to 350 degrees and line muffin tins with cupcake liners.

Combine eggs, egg whites and oil.  Add the buttermilk, sour cream and vanilla and mix to combine.  Add the cake mix and stir until combined.

Fill cupcake liners 3/4 full.  

Bake for 16-20 minutes or until an inserted knife comes out clean.  Remove cupcakes to a wire rack to cool completely.

For the ganache, place white chocolate chips and heavy cream into a microwave safe bowl.  Heat at 30 second intervals until melted and smooth.  Dip the top of each cupcake into the ganache; set aside.

For the buttercream:  Beat the cream cheese and butter until light and fluffy.  Add the powdered sugar, orange zest, extract and orange juice and beat until mixed well.  Add powdered sugar or more orange juice until it reaches the desired consistency.

Pipe frosting onto cupcakes.  I used a Wilton 2A large round tip.  Top with orange slices.

Monday, April 2, 2012

Chocolate Cherry Whoopie Pies

What do you do when you have leftover frosting in your fridge that you don't know what to do with?

Make Whoopie Pies!

I had some leftover Cherry Cream Cheese frosting from our Cherry Limeade Cupcakes that I didn't want to go to waste.  So my mind went straight to Whoopie Pies. 

These turned out delicious.  If you like chocolate and cherries you'll love these little guys! 

Chocolate Cherry Whoopie Pies

1 box Chocolate cake mix
1/3 cup vegetable oil
2 eggs
1 cup semi-sweet chocolate chunks
Preheat the oven to 350 degrees. Spray your cookie sheets with cooking spray.
In a large mixing bowl combine the cake mix, oil, and eggs and beat until just blended.  Stir in the chocolate chips.
Drop onto cookie sheet using a medium cookie scoop (or about 1 1/2 tablespoons) and bake for 11-14 minutes.
Transfer to a wire rack and let cool completely.
Now to make the frosting:
2 cups powdered sugar
1/4 cup butter, softened
2 oz. cream cheese, softened
1 tablespoons maraschino cherry juice
(You could also use cherry extract.  Just use 1/2 teaspoon of that and then add milk for the rest.  Also add red food coloring)

Beat cream cheese and butter.  Add the remaining ingredients until you reached desired consistency.

Once cookies are cooled, flip half of them upside down and pipe on frosting.  Place another cookie on top & you've got yourself a whoopie pie!
Related Posts Plugin for WordPress, Blogger...