These are the cupcakes that I sneakily (probably not a real word) had Kyla help me bake for her surprise party with her friends. They were so much fun to make, and so much more fun to have Kyla helping me and keep asking what they were for and if she could try one! I just kept telling her that I just saw them and really wanted to try them out and that we'd just think of someone we could take them to. "Can't we just try one??" I don't know how many times I heard that during our cupcake makin' session! Well, she got to try one...at her PaRtY!!
They are so superbly out of this world!! I can't even think of good enough words to describe these...let's just say I ate more than 1...but that's all I'm sayin'!
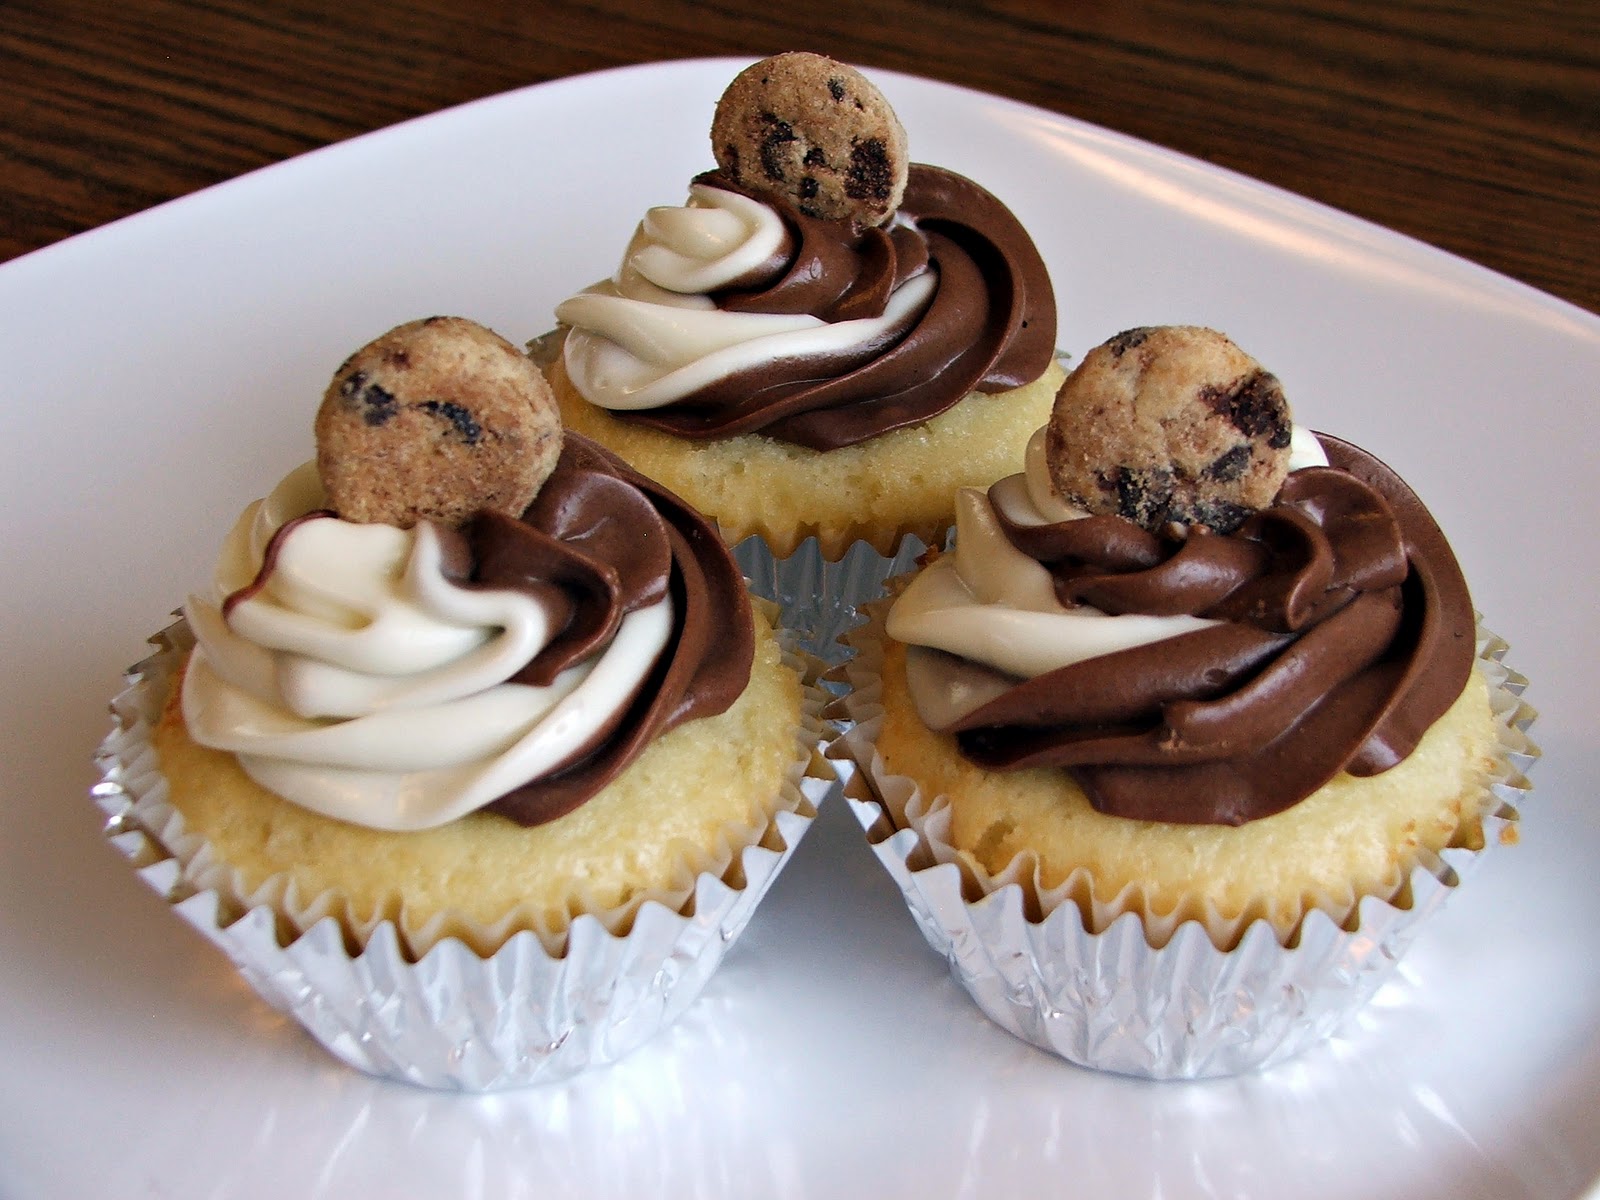
Chocolate Chip Cookie Dough Cupcakes

Vanilla Cake:
3 eggs
1/3 cup oil
3/4 cup buttermilk
1 teaspoon vanilla
3/4 cup sour cream
Vanilla Cake Mix (not white cake mix)
Cookie Dough Filling:
4 tablespoons butter, softened
1/3 cup brown sugar, packed
1 1/4 cup flour
7 oz sweetened condensed milk (half a can)
1/2 teaspoon vanilla
1/3 cup mini chocolate chips
Chocolate Vanilla Swirl Buttercream:
8 oz cream cheese, softened
1/2 cup butter, softened
1 teaspoon vanilla
3 cups powdered sugar
1/2 cup unsweetened cocoa
Directions:
Preheat oven to 350 degrees and line pans with 24 cupcake liners. In a large bowl, gently combine eggs, oil, buttermilk and vanilla, then mix in the sour cream. Add cake mix and mix until smooth.
Fill cupcake liners 3/4 full (a large cookie scoop works great!) and bake for 15-18 minutes, or until an inserted knife comes out clean.
For the filling: Beat butter and brown sugar until creamy and smooth. Add flour and let mix. Add sweetened condensed milk and vanilla. Stir in Chocolate chips. Place in a small Tupperware and let refrigerate until ready to use.
When cupcakes are out of the oven, cut a cone shaped piece from the top of each cake.
Remove the filling from the refrigerator and stuff about 1 ½ -2 teaspoons of filling into each hollow cupcake.
For the Frosting: Beat cream cheese and butter until fluffy. Add vanilla and powdered sugar. Adjust the consistency using milk if it is too thick. Remove half of the buttercream from the bowl (this will be the vanilla). Add cocoa to the remaining half and beat well.
Fill your piping bag by filling one side with vanilla and one side with chocolate. It is a little tricky, but it can be done! (I saw a great tutorial
HERE for doing this...put chocolate in one bag and vanilla in another and then put them into a larger bag with the top...this seems much easier to me!) Pipe over cookie dough hole and top with mini chocolate chips or chocolate chip cookies.
I had a little bit of cake batter left over after filling 24 cupcakes and so decided to try some little mini ones as well. There was only enough for 6 and they aren't big enough to put cookie dough in the middle, but they sure were good and really cute!